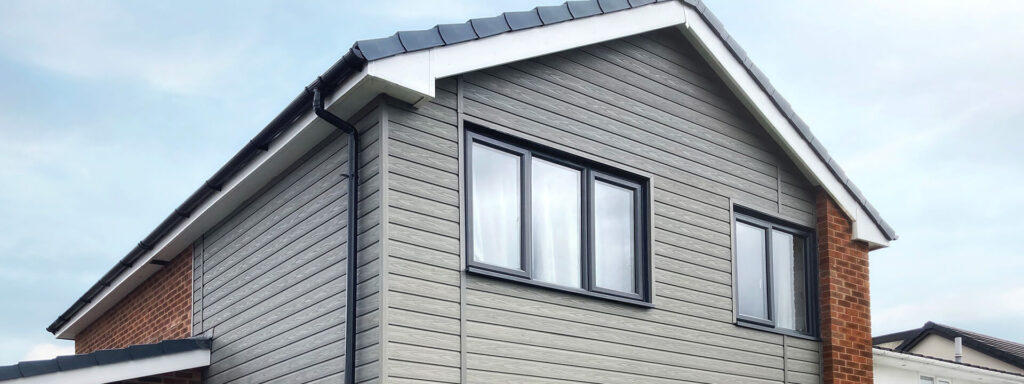
Composite cladding offers an attractive and durable solution for enhancing the aesthetics and protection of external walls. However, proper cladding installation is crucial to ensure its longevity and effectiveness. In this comprehensive guide, we will walk you through the step-by-step process of installing composite cladding, covering essential aspects such as cladding support structure, waterproof membrane, cladding battens, horizontal and vertical installations, finishing corners and windows, and frequently asked questions. Let’s dive in!
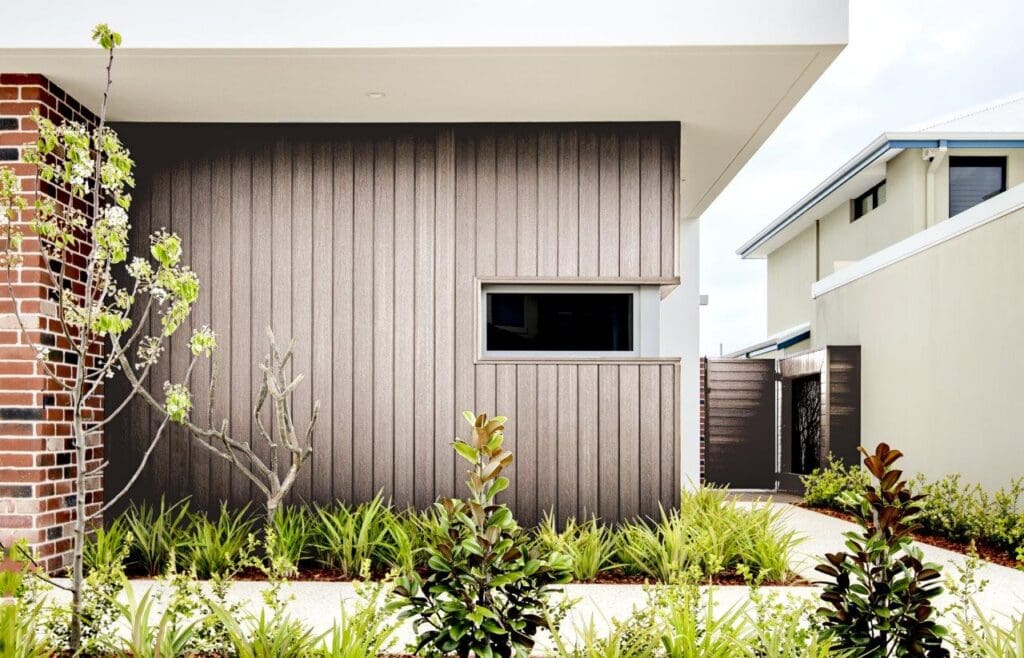
Cladding support structure
When installing composite cladding, a sturdy and reliable support structure is essential. The support structure acts as the backbone, providing stability and load-bearing capacity for the cladding system. It can be made of timber, metal, or concrete, depending on the specific requirements and design considerations.
How do you fix cladding to an external wall?
To fix cladding to an external wall, follow these steps:
Prepare the wall surface by ensuring it is clean, dry, and free from any debris.
Apply a waterproof membrane over the wall surface to provide an additional layer of protection against moisture infiltration.
Install cladding battens horizontally or vertically, depending on the chosen cladding orientation. These battens create an air gap and act as a fastening point for the cladding boards.
Fix the cladding boards onto the battens using suitable clips or fasteners, ensuring proper alignment and spacing.
Waterproof Membrane
To protect the underlying structure from moisture damage, it is crucial to apply a waterproof membrane before installing the cladding. The waterproof membrane acts as a barrier, preventing water penetration and potential issues like rot and decay.
What are cladding battens?
Cladding battens are horizontal or vertical strips of material fixed to the support structure. They provide a stable surface for attaching the cladding boards and facilitate proper ventilation by creating an air gap between the cladding and the wall.
What kind of battens should be used for cladding?
The choice of cladding battens depends on factors such as the cladding material, expected loads, and environmental conditions. Timber battens are commonly used, but metal or composite battens may be suitable for specific applications. Consult with a professional or follow the manufacturer’s recommendations for the appropriate batten material.
Does cladding need an air gap?
Yes, cladding typically requires an air gap between the cladding boards and the underlying wall. The air gap allows for ventilation and helps prevent moisture buildup, ensuring the longevity of the cladding system.
Installing Cladding Support Battens
To install cladding support battens, follow these steps:
Measure and mark the desired spacing between the battens, considering factors such as the size of the cladding boards and aesthetic preferences.
Attach the battens to the support structure using appropriate fixings, ensuring they are level and securely fastened.
Maintain consistent spacing between the battens, allowing for proper ventilation and ensuring the cladding boards can be securely attached.
Horizontal Cladding Installation
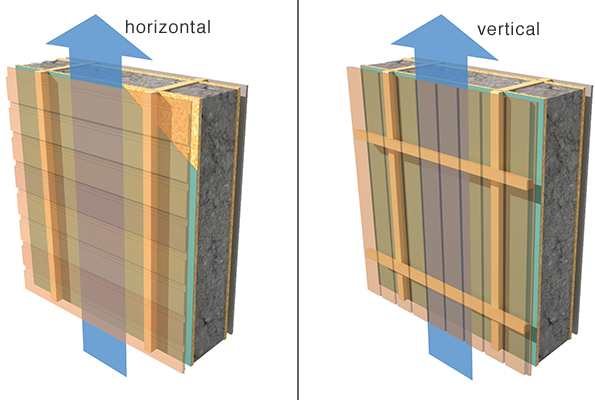
Horizontal cladding installation provides a classic and visually appealing look. Here’s how to install horizontal cladding:
Installing the first board using starter fasteners
Begin by installing the first cladding board at the bottom, using starter fasteners designed for horizontal installations. These fasteners help secure the board in place while allowing for expansion and contraction. Align the board carefully, ensuring it is level and properly spaced from adjacent surfaces. Secure the board to the battens using the designated fasteners, following the manufacturer’s guidelines.
Installing the first cladding board without clips
Alternatively, some horizontal cladding systems may not require starter fasteners. In such cases, follow these steps:
Install the first board at the bottom, ensuring it is aligned and properly spaced.
Secure the board to the battens using suitable screws or nails, making sure they are placed at the designated fixing points.
Installing the remaining boards
Continue installing the remaining cladding boards horizontally, aligning them with the previous board and maintaining consistent spacing.
Secure each board to the battens using appropriate fasteners, ensuring they are properly fixed and allowing for expansion and contraction.
Vertical Cladding Installation
Vertical cladding installation offers a distinct and modern aesthetic. Follow these steps for a successful vertical installation:
Vertical Cladding Supports
Install vertical cladding support battens, ensuring they are level, straight, and securely fastened to the support structure.
Maintain consistent spacing between the battens to allow for proper attachment of the cladding boards and ventilation.
Installing the boards
Begin by installing the first cladding board at the bottom, aligning it carefully with the battens.
Secure the board to the battens using appropriate fixings, ensuring they are placed at the designated fixing points.
Continue installing the remaining cladding boards vertically, aligning them with the previous board and maintaining consistent spacing.
Secure each board to the battens, ensuring they are properly fixed and allowing for necessary expansion and contraction.
Finishing Corners and Windows
Properly finishing corners and windows enhances the overall appearance and functionality of the cladding installation. Consider the following steps:
Installing fascia boards to cover expansion gaps
Install fascia boards along the edges of the cladding to cover any expansion gaps and provide a clean finish.
Secure the fascia boards to the support structure using suitable fixings, ensuring they are properly aligned and spaced.
Installing corner trim to cover edges
Install corner trims at the external corners of the cladding installation to provide a neat and polished look.
Secure the corner trims using appropriate fixings, ensuring they are aligned and properly fitted.
Soffit installation
For a comprehensive cladding installation, consider installing soffits to cover the underside of roof eaves and provide a cohesive appearance. Consult with a professional for the specific steps involved in soffit installation.
Frequently Asked Questions (FAQs)
How do you install cladding step by step?
Installing cladding involves preparing the wall surface, applying a waterproof membrane, installing cladding support battens, fixing cladding boards, and finishing corners and windows. Follow the step-by-step instructions provided in this guide for detailed installation guidance.
How do you install cladding panels?
Cladding panels can be installed by attaching them to the support structure using appropriate fixings or clips. Follow the manufacturer’s guidelines and the specific instructions provided for your chosen cladding system.
What spacing for cladding?
The spacing between cladding boards or panels may vary depending on the specific cladding system and design considerations. Refer to the manufacturer’s recommendations or consult with a professional to determine the appropriate spacing for your cladding installation.
What is the formula for cladding?
The formula for calculating the amount of cladding material required typically involves measuring the area to be clad, considering the cladding system’s coverage per unit, and accounting for any additional factors like wastage or design variations. Consult with a professional or refer to specific cladding system guidelines for the exact formula.
How much should cladding overlap?
The amount of overlap required for cladding boards or panels depends on the specific cladding system andapplied. In general, a recommended overlap of around 20-30mm is common for most cladding installations. However, it is important to consult the manufacturer’s guidelines or seek professional advice to determine the specific overlap requirements for your chosen cladding system.
Does cladding need an air gap?
Yes, cladding typically requires an air gap between the cladding boards or panels and the underlying wall. This air gap allows for proper ventilation, moisture management, and thermal performance. Consult the manufacturer’s recommendations or seek professional guidance to determine the specific air gap requirements for your cladding system.
Proper installation of composite cladding is vital to ensure its functionality and longevity. By following the guidelines provided in this comprehensive guide, you can successfully install composite cladding while considering essential aspects such as cladding support structure, waterproof membrane, cladding battens, horizontal and vertical installations, finishing corners and windows. If you have any further questions or require additional assistance, do not hesitate to consult with a professional or reach out to our team. Happy cladding installation!
Note: The information provided in this blog serves as a general guide. It is important to consult the manufacturer’s instructions and seek professional advice for specific cladding systems and installations.

