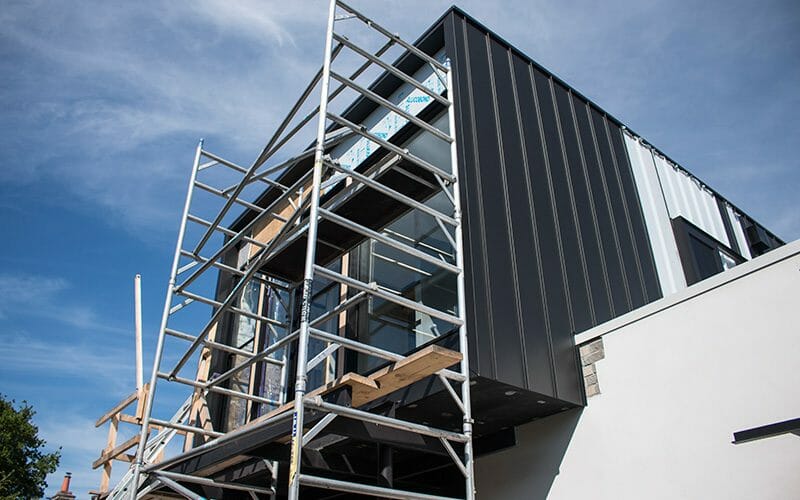
The art of cladding installation goes beyond aesthetics; it’s about achieving a perfect marriage of form and function. Whether you’re a seasoned professional or a DIY enthusiast, mastering cladding installation is essential for ensuring your building’s durability, weather resistance, and visual appeal. In this comprehensive guide, we will unveil a treasure trove of expert cladding installation tips that will elevate your skills and ensure a flawless exterior that stands the test of time.
1. Proper Planning: The Foundation of Success for Cladding Installation
Before you even touch a cladding panel, meticulous planning is essential. Carefully measure the dimensions of the area to be clad, considering factors such as windows, doors, and corners. Create a detailed installation plan that outlines the sequence, layout, and materials needed. Proper planning will save you time, minimize mistakes, and ensure a smooth installation process.
2. Choose the Right Cladding Material: Compatibility Matters
Different cladding materials require specific installation techniques. Whether it’s wood, vinyl, metal, or composite panels, make sure you understand the unique requirements of the material you’re working with. Each material has its own set of tools, fasteners, and methods, so selecting the right one for your project is crucial.
3. Invest in Quality Tools and Equipment
The old adage “a craftsman is only as good as his tools” holds true in cladding installation. Invest in high-quality tools and equipment that are designed for the specific material you’re working with. This includes saws, drills, fasteners, adhesives, and safety gear. Quality tools not only ensure accurate cuts and secure installations but also contribute to your safety and efficiency.
4. Prepare the Surface: Clean, Level, and Dry
Before you begin installing cladding, the surface must be properly prepared. Ensure that the substrate is clean, level, and dry. Any irregularities or moisture issues can lead to problems down the line, such as warping, rot, or poor adhesion. Proper surface preparation sets the foundation for a successful installation.
5. Mind the Ventilation: Allow for Air Circulation
Proper ventilation is essential to prevent moisture buildup behind the cladding, which can lead to rot, mold, and other issues. Install a weather-resistant barrier or breathable membrane behind the cladding to allow air circulation while blocking water infiltration. Proper ventilation contributes to the longevity of both the cladding and the underlying structure.
6. Follow Manufacturer’s Guidelines: Read and Apply
Manufacturers provide specific installation guidelines for their cladding products. These guidelines are tailored to ensure optimal performance and warranty coverage. Take the time to read and understand the manufacturer’s recommendations, including spacing, fastener placement, and any special instructions.
7. Mind the Expansion and Contraction: Allow Movement
Cladding materials expand and contract with temperature changes. Allow for this movement by leaving proper gaps and expansion joints. Ignoring this can lead to buckling, warping, or even damage to the cladding. Refer to the manufacturer’s guidelines for recommended expansion allowances.
8. Test Before You Scale: Mock-Up the Installation
Before you commit to the full installation, consider creating a mock-up of a small section. This allows you to test your techniques, alignments, and connections without the pressure of the actual project. It’s an excellent way to identify and address any potential issues before they become major problems.
9. Maintain Consistency: Keep an Eye on Alignment
Maintaining consistent alignment is crucial for a professional-looking installation. Use reference lines, levels, and measuring tools to ensure that your cladding panels are straight and even. Uneven cladding can detract from the overall aesthetics and compromise the weather-resistant barrier.
10. Seek Professional Advice: When in Doubt, Consult
If you encounter challenges or uncertainties during cladding installation, don’t hesitate to seek advice from professionals or manufacturers’ support teams. It’s better to ask questions and ensure you’re on the right track than to proceed with a flawed installation.
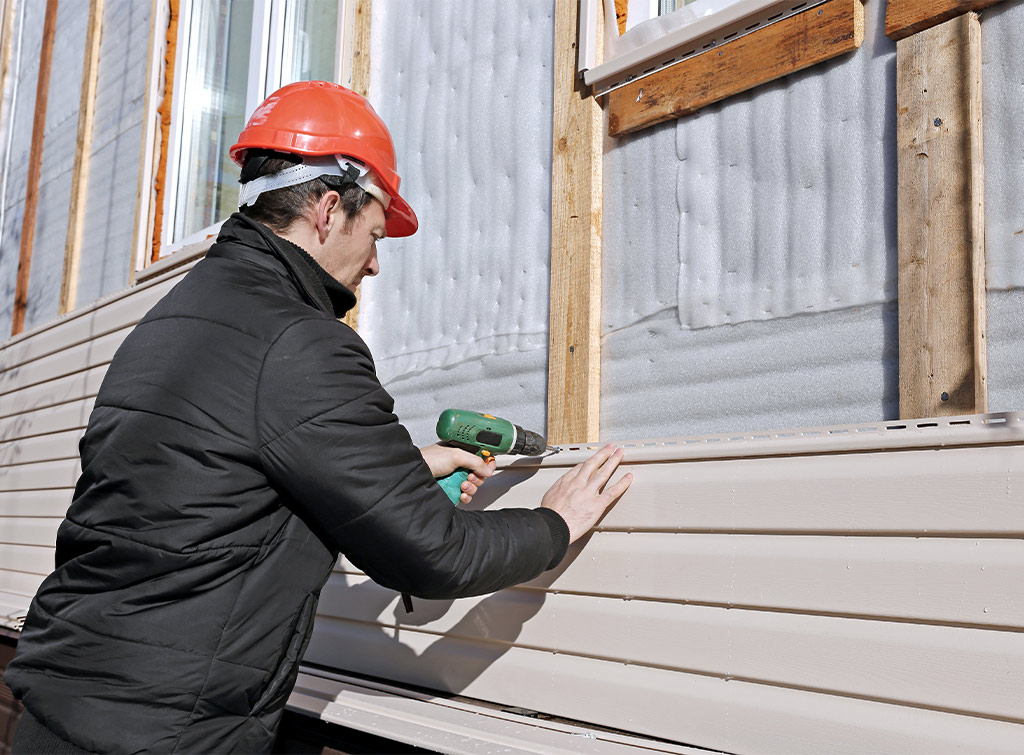
How is Cladding Installed?
Cladding installation involves attaching an outer layer of material to the exterior of a building’s walls. This layer, known as cladding, serves multiple purposes, including enhancing the building’s appearance, providing protection against weather elements, and contributing to insulation. The installation process varies based on the type of cladding material being used.
How do you prepare a wall for cladding?
Preparing a wall for cladding involves cleaning the surface from debris, repairing any structural issues, and installing a weather-resistant barrier. Attach furring strips for an air gap and insulation if needed. Apply flashing for waterproofing and establish reference lines for alignment. Choose appropriate fasteners, following manufacturer’s guidelines, and consider a small test section. This meticulous process ensures a stable, insulated, and weather-resistant base for a successful cladding installation.
What are the techniques used for installing different claddings?
Different cladding materials require specific installation techniques. Metal cladding often uses mechanical fasteners like screws or interlocking panels. Vinyl cladding is hung on wooden strips and nailed. Wood cladding uses nails or screws and demands sealing. Fiber cement cladding is attached using nails or screws, with pre-drilling. Brick cladding involves mortar or adhesive for thin brick tiles. Each material demands accurate spacing, alignment, and adherence to manufacturer guidelines for optimal installation.
Conclusion:
Cladding installation is an art that combines skill, precision, and careful planning. By following these expert tips, you can achieve a flawless exterior that not only enhances your building’s aesthetics but also ensures durability, weather resistance, and structural integrity. Remember, the success of your cladding project hinges on attention to detail, proper preparation, and a commitment to mastering the techniques that create a lasting impression.

