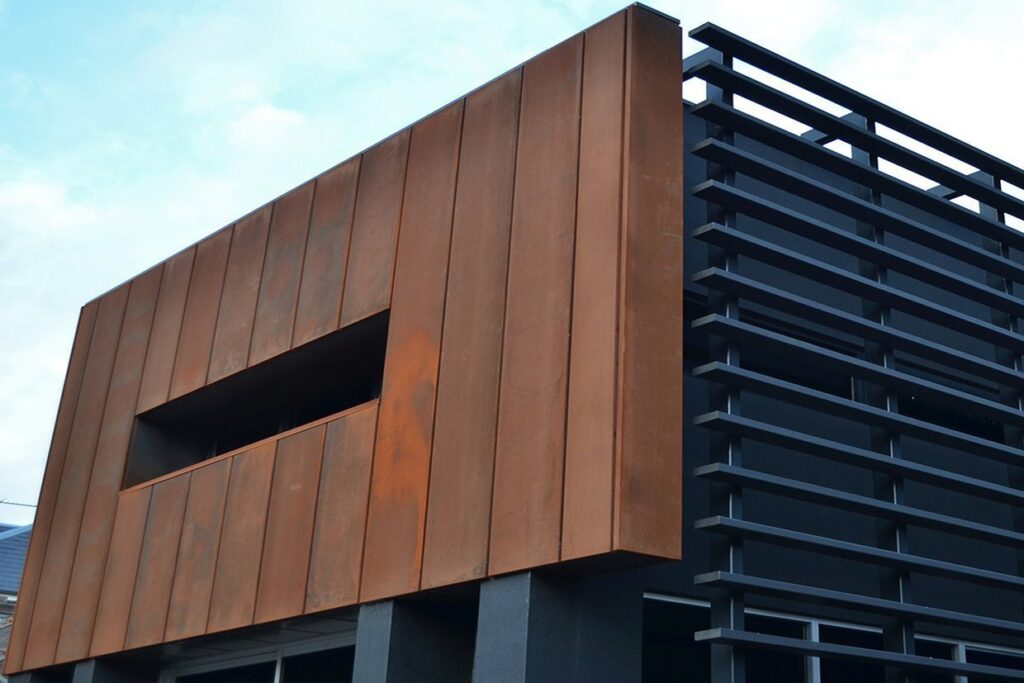
Cassette panels have revolutionized contemporary architecture, offering a combination of aesthetics, durability, and versatility. Achieving a flawless cassette panel installation requires not just skill but also a systematic approach. In this comprehensive guide, we will walk you through the step-by-step process of cassette panel installation, ensuring that you can tackle your architectural projects with confidence and precision.
Chapter 1: Preparing for Success
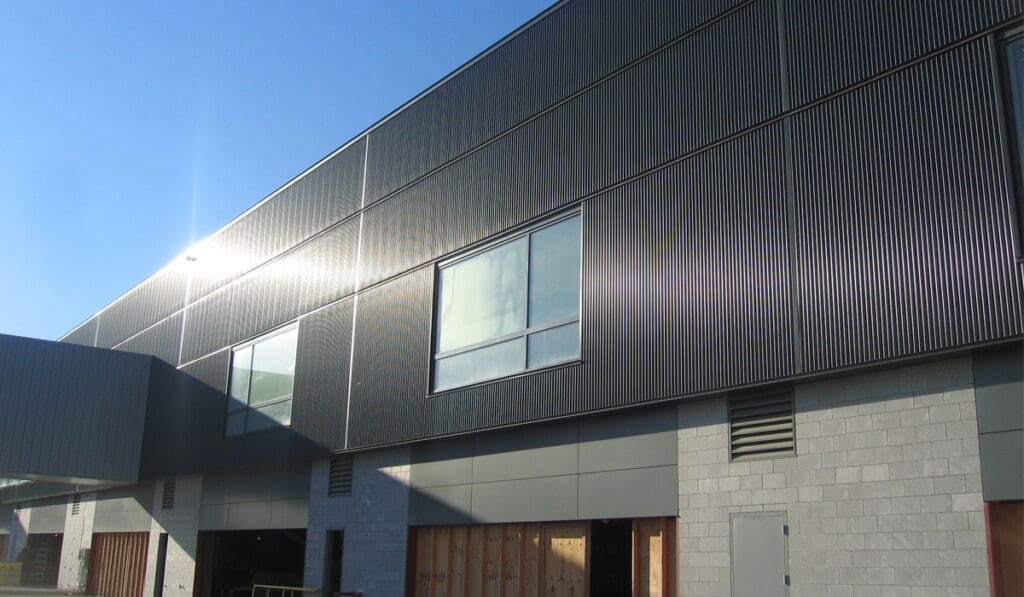
Before diving into the installation process, it’s crucial to start with proper preparation:
1.1 Project Assessment
Begin by assessing your project’s requirements, including the type of cassette panels, dimensions, and design specifications.
1.2 Tools and Equipment
Gather the necessary tools and equipment, including the Cassette Panel Installation Kit, if available.
Chapter 2: Surface Preparation
The quality of the surface plays a pivotal role in the longevity and stability of your cassette panel installation:
2.1 Surface Inspection
Inspect the wall or substrate to identify any defects, moisture issues, or irregularities that need addressing.
2.2 Surface Cleaning
Ensure that the surface is clean, free from dust, debris, and any contaminants that might hinder adhesion.
2.3 Moisture Management
Implement moisture management solutions to prevent water infiltration behind the panels, which could lead to damage over time.
Chapter 3: Bracket Placement
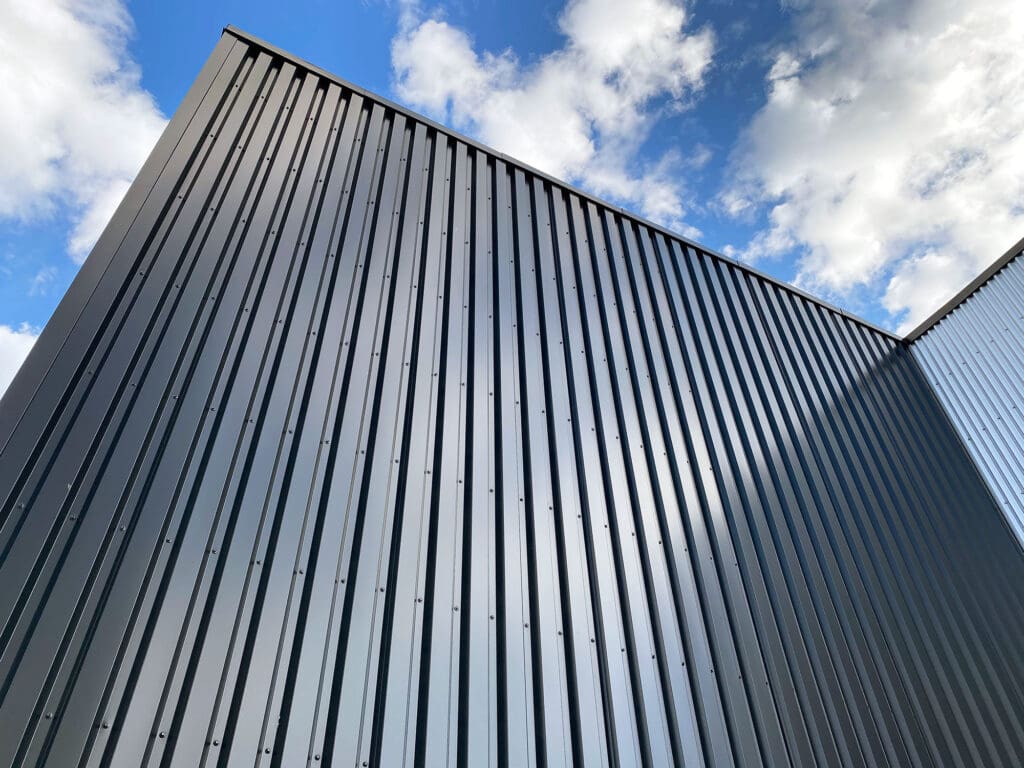
Bracket placement is a critical step in ensuring the structural integrity of your installation:
3.1 Layout Planning
Plan the layout of your brackets, ensuring even distribution and alignment.
3.2 Bracket Attachment
Attach brackets securely to the substrate, following manufacturer guidelines and using the Cassette Panel Installation Kit for precision.
Chapter 4: Panel Alignment
Achieving precise panel alignment is essential for a visually appealing result:
4.1 Alignment Guides
Use alignment guides from the installation kit to ensure accurate panel positioning.
4.2 Spacer Installation
Install spacers between panels to maintain uniform gaps and alignment.
Chapter 5: Attaching Cassette Panels
Now comes the pivotal moment—attaching the cassette panels to the brackets:
5.1 Fastening Techniques
Use the recommended fastening devices and techniques to secure panels in place.
5.2 Level and Plumb
Continuously check for level and plumb as you attach each panel to maintain a straight and balanced installation.
Chapter 6: Weatherproofing
Weatherproofing is crucial to protect your installation from the elements:
6.1 Sealant Application
Apply a high-quality sealant at panel joints and edges to prevent water infiltration.
6.2 Flashing Installation
Install flashing around openings and critical areas to divert water away from the installation.
Chapter 7: Safety Measures
Safety should always be a priority during installation:
7.1 Personal Protective Equipment (PPE)
Ensure that installers wear appropriate PPE, including safety harnesses if working at heights.
7.2 Fall Protection
Implement fall protection measures, such as guardrails or safety nets, to prevent accidents.
Chapter 8: Quality Assurance
Conduct thorough quality checks to verify the integrity of your installation:
8.1 Inspection
Inspect the entire installation for defects, irregularities, or areas that may require corrections.
8.2 Cleaning
Clean the panels and surrounding areas to ensure a pristine finish.
Chapter 9: Post-Installation Maintenance
Ensure the long-term performance of your cassette panel installation:
9.1 Maintenance Schedule
Establish a maintenance schedule that includes regular cleaning, inspections, and sealant replacement.
9.2 Repairs
Address any issues promptly to prevent further damage or deterioration.
1. What are cassette panels, and why are they popular in architecture?
Cassette panels are cladding elements made from various materials. They are popular for their durability, aesthetics, and versatility, making them a preferred choice in modern architecture.
2. Do I need professional training to install cassette panels?
While professional training is beneficial, many manufacturers provide installation guidelines for DIY enthusiasts. However, for large or complex projects, it’s advisable to hire experienced installers.
3. What tools are essential for cassette panel installation?
Essential tools include a level, drill, measuring tape, brackets, fasteners, sealant, alignment guides, and personal protective equipment (PPE).
4. How do I prepare the wall or substrate for cassette panel installation?
Surface preparation involves cleaning, addressing any defects, ensuring proper moisture management, and sometimes applying a primer for better adhesion.
5. Can I install cassette panels on any surface, including uneven ones?
It’s possible to install cassette panels on uneven surfaces, but surface irregularities may require additional preparation and adjustment during installation.
6. What are some common mistakes to avoid during cassette panel installation?
Common mistakes include improper alignment, insufficient weatherproofing, and inadequate bracket attachment. Careful planning and adherence to guidelines can help avoid these issues.
7. How do I achieve precise panel alignment during installation?
Alignment guides and spacers are used to achieve precise panel alignment. Following the manufacturer’s instructions and using alignment tools from the Cassette Panel Installation Kit can help.
8. How important is weatherproofing in cassette panel installation?
Weatherproofing is critical to prevent water infiltration and protect the structure. It involves proper sealant application and flashing installation.
9. What safety measures should I take during cassette panel installation?
Safety measures include wearing PPE, implementing fall protection when working at heights, and following safety guidelines from the Cassette Panel Installation Kit.
10. How do I maintain the longevity of my cassette panel installation?
Regular maintenance, including cleaning, inspections, and sealant replacement, is essential to ensure the installation’s long-term performance.
By following this step-by-step guide to cassette panel installation, you can achieve a flawless result that not only enhances the aesthetics of your architectural project but also stands the test of time. Remember that each project may have its unique requirements, so adapt these steps as needed while adhering to manufacturer guidelines and industry best practices.
With the right tools, careful planning, and attention to detail, mastering cassette panel installation becomes an attainable skill for both professionals and DIY enthusiasts alike.

