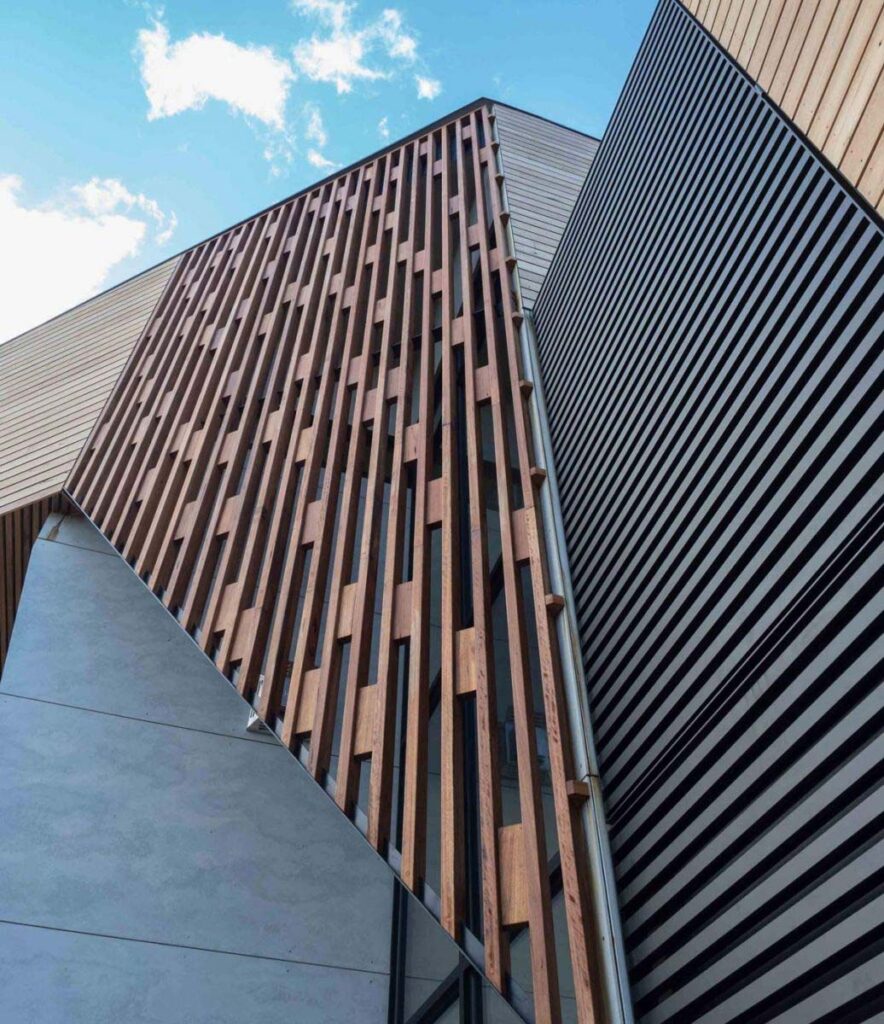
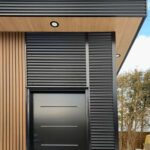
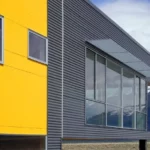
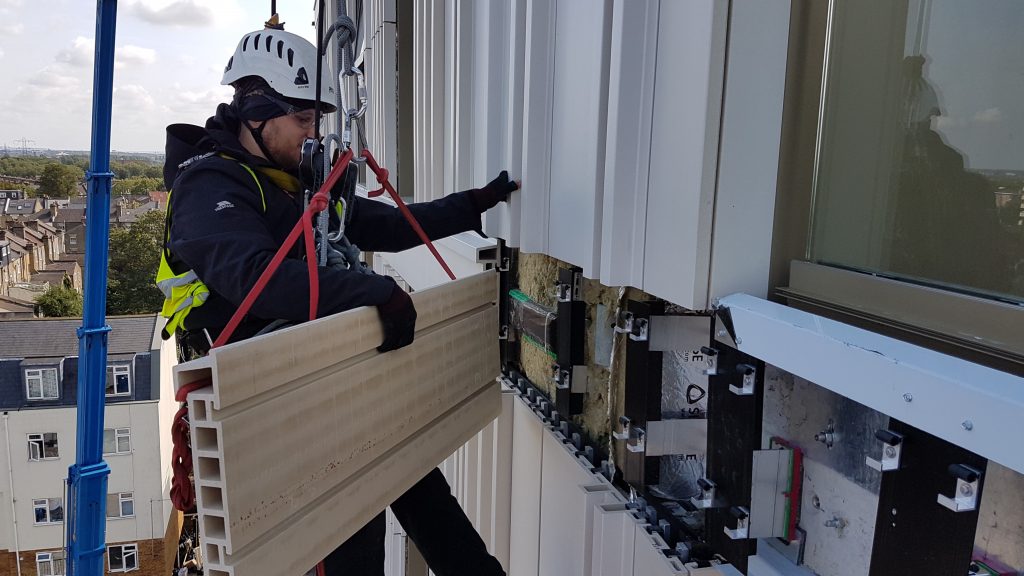
The art of proper cladding installation goes beyond aesthetics – it’s a symphony of precision, skill, and technique. Proper installation not only enhances a building’s visual appeal but also ensures durability, weather resistance, and long-term performance. This blog serves as your guide to understanding the essential cladding installation techniques that can elevate your construction endeavors to a new level of excellence.
Proper Cladding Installation
1. Surface Preparation: The Foundation of Success:
Begin with a clean and structurally sound substrate. Remove debris, dirt, and any deteriorating material. Repair cracks, seal joints, and ensure the surface is level and plumb to create a solid foundation for the cladding.
2. Weather-Resistant Barrier: The Shield Against Moisture:
Install a weather-resistant barrier, such as a breathable membrane, to prevent moisture infiltration while allowing for air circulation. This crucial step protects the building envelope from water damage and ensures a dry, long-lasting cladding system.
3. Furring Strips: Creating an Air Gap:
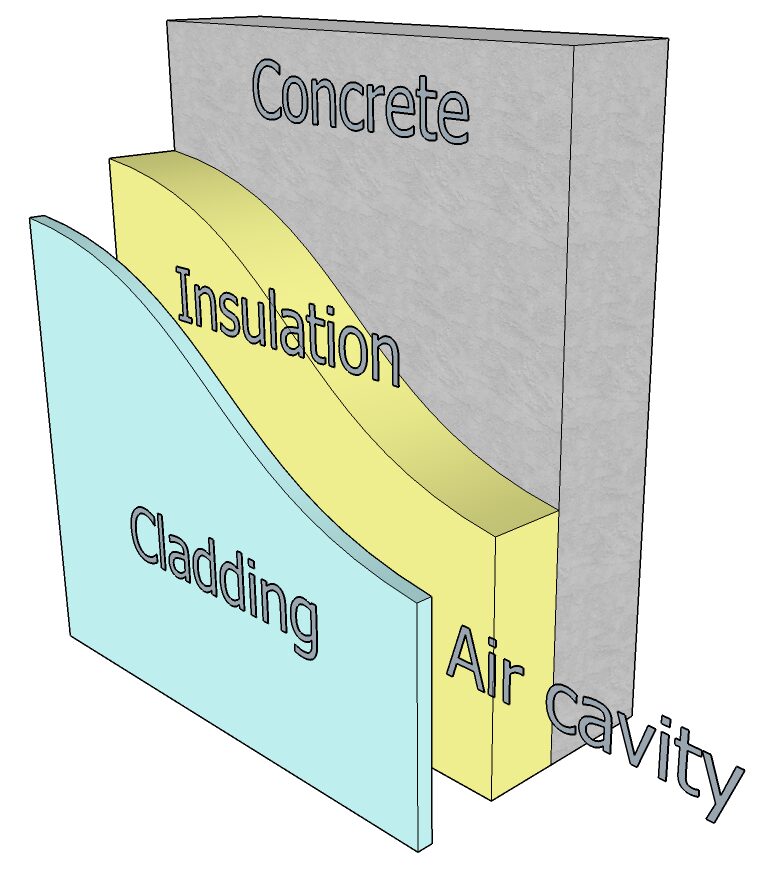
Attach vertical or horizontal furring strips to the wall. These strips provide an air gap between the cladding and the wall, promoting ventilation and preventing moisture buildup. Use the appropriate size and spacing recommended by the manufacturer.
4. Insulation Integration: Enhancing Energy Efficiency:
If insulation is part of the design, install it between the furring strips. Proper insulation enhances energy efficiency and contributes to a comfortable indoor environment. Ensure that insulation is properly secured and does not impede ventilation.
5. Flashing Expertise: Sealing Vulnerable Areas:
Install flashing around openings, corners, and intersections to prevent water intrusion. Properly installed flashing directs water away from vulnerable areas and ensures a watertight seal. Seal joints and penetrations meticulously to prevent leaks.
6. Alignment and Reference Lines: The Key to Symmetry:
Establish accurate reference lines for alignment. These lines ensure that cladding panels are installed straight and level. Proper alignment is crucial for achieving a seamless and visually appealing finished result.
7. Fastener Selection and Placement: Precision Matters:
Choose fasteners appropriate for the cladding material and wall substrate. Follow manufacturer guidelines for spacing and placement. Overdriving or underdriving fasteners can compromise the cladding’s structural integrity.
8. Adhesive Applications: Ensuring Strong Bonding:
For certain cladding materials, adhesive applications are essential. Use the appropriate adhesive recommended by the manufacturer. Proper adhesive bonding ensures a secure and lasting attachment of the cladding to the substrate.
9. Panel Overlaps and Expansion Gaps: All About Proportions:
Properly overlap cladding panels according to manufacturer specifications. Allow for expansion and contraction by incorporating appropriate gaps and expansion joints. These considerations prevent warping, buckling, and cracking due to temperature fluctuations.
10. Finishing Touches: Sealing and Trim Installation:
Seal joints between cladding panels with sealants that match the material. Proper sealing prevents water infiltration and enhances the cladding’s weather resistance. Install trim and edging to provide a polished and professional appearance.
11. Regular Maintenance: Ensuring Longevity:
Even with proper installation, regular maintenance is essential for preserving the cladding’s performance and appearance. Inspect the cladding periodically for signs of damage, sealant deterioration, or moisture issues. Address any issues promptly to prevent further damage.
What is the process of cladding in construction?
Applying a material over another, essentially providing a skin, on the exterior of a home is called cladding. This provides not only extra insulation to buildings, but additional weather resistance and an improved appearance.
How is cladding attached to buildings?
With construction methods in mind, cladding uses wall anchors, infills or other more complex methods such as curtain wall installation to ‘fix’ it to a building’s exterior.
Should house cladding be vertical or horizontal?
Fitting weatherboards on a facade horizontally is easier than vertically. This makes horizontal sidings quicker to install, saving on time and money. Being affordable and easy to install, horizontal cladding boards are a great option when you are renovating your home, or when you plan to do it yourself.
What is the method of cladding?
Cladding is the bonding together of dissimilar metals. It is different from fusion welding or gluing as a method to fasten the metals together. Cladding is often achieved by extruding two metals through a die as well as pressing or rolling sheets together under high pressure.
What is the most common type of cladding?
The most common types of cladding are Stone Cladding, Brick Cladding, UPVC Cladding, Timber Cladding, Metal Cladding, Concrete Cladding, Weatherboard Cladding, Glass Cladding.
Conclusion:
Proper cladding installation techniques are the bedrock of a successful construction project. Each step contributes to the cladding’s durability, aesthetics, and performance. From meticulous surface preparation to precise fastener placement, every technique plays a crucial role in ensuring a cladding system that withstands the test of time while enhancing the building’s visual appeal. As you embark on your cladding journey, remember that mastering these techniques is the key to achieving excellence in construction and making a lasting impact in the world of architecture.

