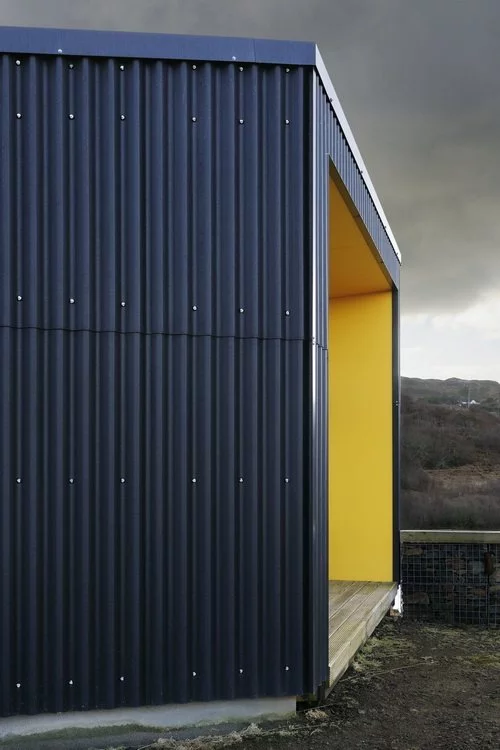
When it comes to cost-effective and versatile building materials, corrugated panels have proven their worth time and again. These panels, characterized by their distinctive wavy pattern, are favored for a variety of projects, from roofing to wall cladding. What’s even more impressive is that you don’t always need a professional to install them. In this DIY guide, we’ll unravel the secrets to successful DIY corrugated panel installation, empowering you to tackle your next project with confidence.
1. Gathering Your Tools and Materials
Before diving into installation, it’s crucial to assemble the necessary tools and materials. Here’s a basic list to get you started:
Corrugated panels
Roofing or wall screws
Power drill with screwdriver bits
Measuring tape
Chalk line
Safety gear (gloves, safety glasses)
Ladder or scaffolding (for elevated installations)
2. Preparing the Surface
Proper surface preparation is key. Ensure that your roofing or cladding deck is clean and free from debris. If necessary, repair any damaged or rotted sections before proceeding. You may also want to apply a vapor barrier for insulation or waterproofing.
3. Measuring and Marking
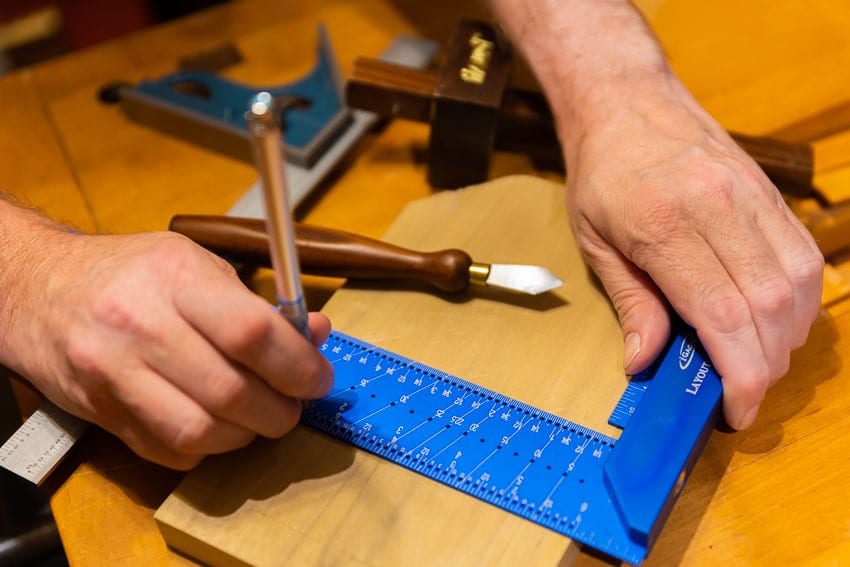
Accurate measurements are vital to a successful installation. Use a measuring tape and chalk line to mark the spacing for your corrugated panels. Ensure even spacing between panels and align them with the roof or wall’s layout.
4. Cutting Panels
Corrugated panels may need to be trimmed to fit specific areas. A circular saw with a fine-toothed blade works well for this task. Always remember to measure twice and cut once to avoid wastage.
5. Securing the Panels
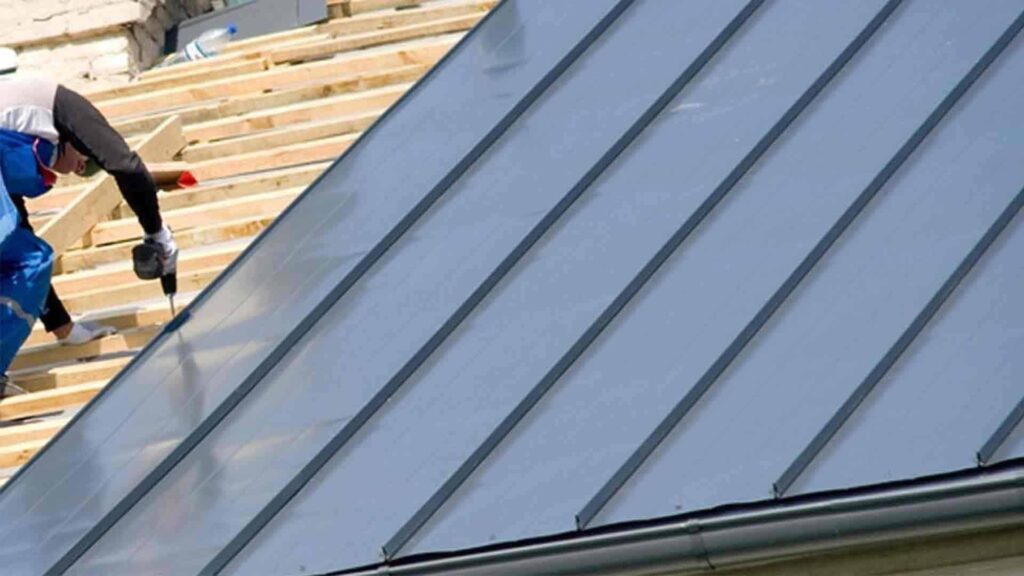
Attach the panels to the surface using roofing or wall screws. Make sure they are securely fastened, especially in areas prone to strong winds or other weather elements. Use a power drill for efficiency.
6. Overlapping Panels
For roofing projects, overlap corrugated panels to ensure water-tightness. The amount of overlap required will depend on the pitch of the roof and local building codes.
7. Sealing and Finishing
To enhance weather resistance, consider sealing the panels’ screws and joints with a waterproof sealant. This extra step can help prevent leaks and improve the longevity of your installation.
8. Safety First
Always prioritize safety. Wear appropriate safety gear, use a stable ladder or scaffolding for elevated installations, and exercise caution while working with power tools.
Frequently Asked Questions
What are corrugated panels used for in construction projects?
Corrugated panels are versatile and can be used for roofing, wall cladding, and fencing. They provide cost-effective and durable solutions.
Can I install corrugated panels myself, or do I need a professional?
Corrugated panels are well-suited for DIY installation, but the complexity of the project and your comfort level with DIY work may influence your decision.
What tools do I need for DIY corrugated panel installation?
Basic tools include corrugated panels, roofing or wall screws, a power drill, measuring tape, chalk line, safety gear, and a ladder or scaffolding for elevated installations.
How do I prepare the surface for corrugated panel installation?
Ensure the surface is clean and free from debris. If necessary, make any repairs or apply a vapor barrier for insulation or waterproofing.
What’s the key to accurate corrugated panel installation?
Precise measurement and marking are essential. Use a measuring tape and chalk line to ensure even spacing and alignment with the structure’s layout.
Do I need to cut corrugated panels to fit specific areas?
In many cases, yes. You may need to trim panels using a circular saw with a fine-toothed blade to achieve a proper fit.
How do I secure corrugated panels to the surface?
Use roofing or wall screws and a power drill for efficient and secure attachment. Ensure panels are fastened tightly, especially in areas prone to strong winds or adverse weather.
Do I need to overlap corrugated panels for roofing projects?
Yes, overlapping is necessary to ensure a water-tight seal. The amount of overlap required depends on the roof’s pitch and local building codes.
Should I seal corrugated panel screws and joints for added protection?
Yes, using a waterproof sealant on screws and joints can enhance weather resistance, prevent leaks, and extend the installation’s lifespan.
What safety precautions should I take during DIY corrugated panel installation?
Prioritize safety by wearing appropriate gear, using a stable ladder or scaffolding for elevated work, and exercising caution when working with power tools.
Conclusion
With careful planning and attention to detail, DIY corrugated panel installation can be a rewarding and cost-effective way to enhance your property. Whether you’re adding a new roof, cladding a wall, or embarking on another project, following these guidelines can help you achieve a professional-looking result. So, roll up your sleeves, gather your tools, and embark on your DIY corrugated panel adventure with confidence!

