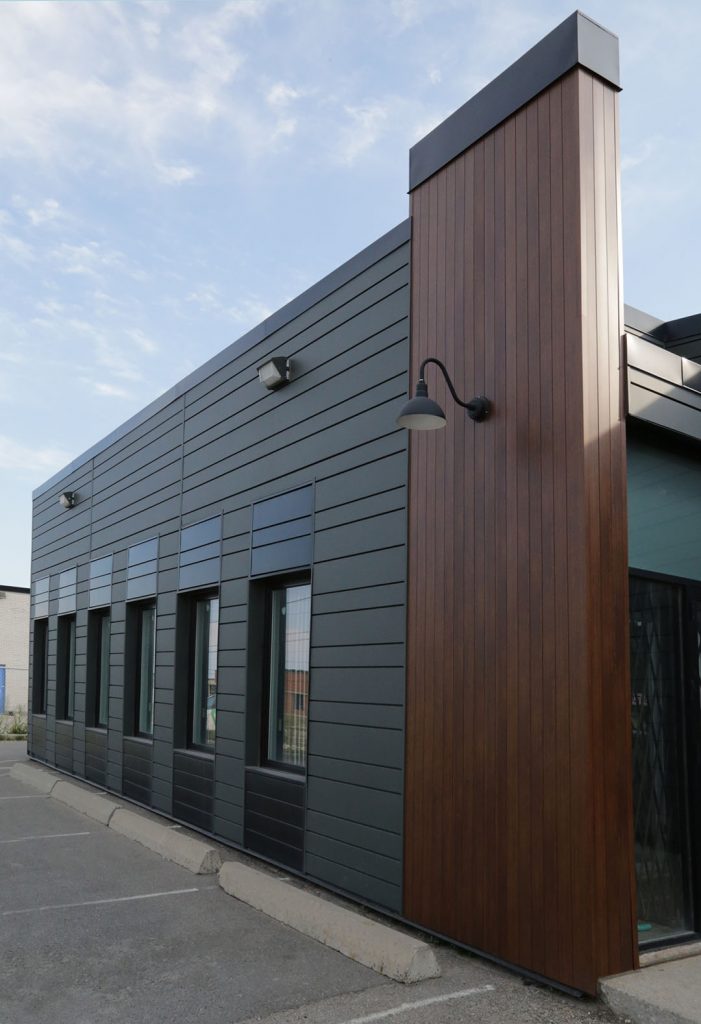
Cassette panels are a versatile and visually appealing cladding option that can elevate the aesthetics of buildings while providing a durable and weather-resistant exterior. Whether you’re an architect, builder, or DIY enthusiast, understanding how to set up cassette panels is essential for achieving a polished and functional facade. In this comprehensive tutorial, we’ll take you through the step-by-step process of cassette panel setup, covering everything from preparation to installation and finishing.
Chapter 1: Preparing for Cassette Panel Installation
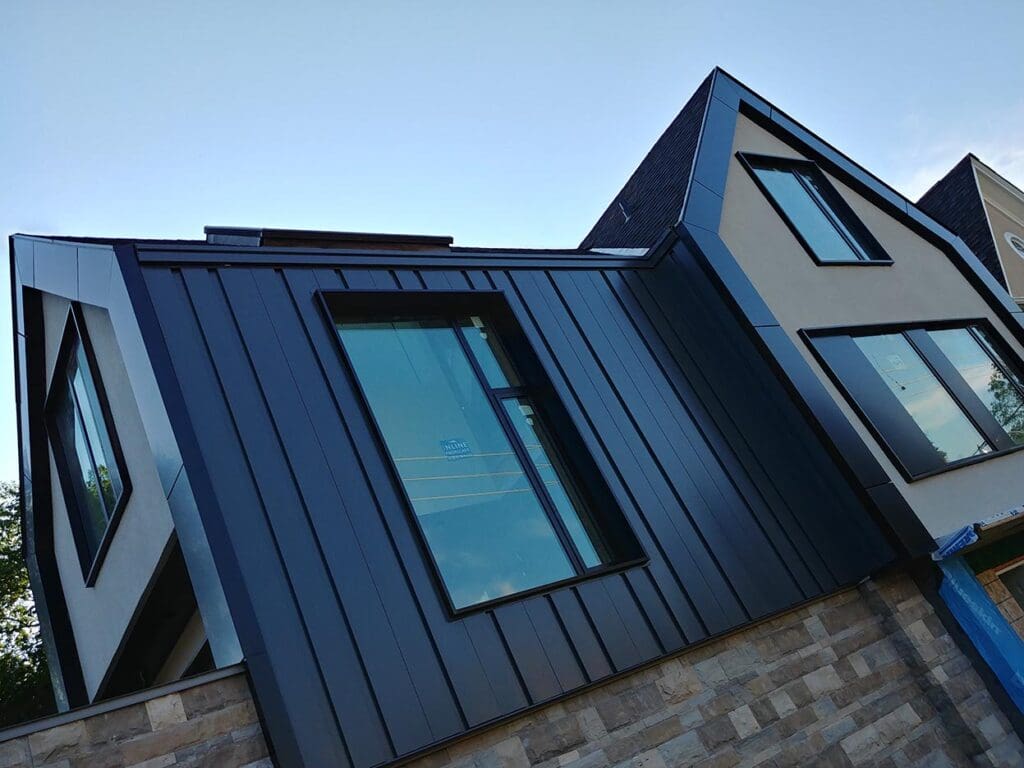
Before diving into the installation process, you need to prepare adequately. This chapter covers:
1.1 Design and Layout:
How to finalize your design and create a detailed layout plan, including panel positioning and dimensions.
1.2 Materials and Tools:
A checklist of the materials and tools required for a successful cassette panel installation, from panels and brackets to fasteners and safety gear.
1.3 Surface Inspection:
How to assess the condition of the substrate or wall where the cassette panels will be installed, including addressing any repairs or modifications needed.
Chapter 2: Installation Process
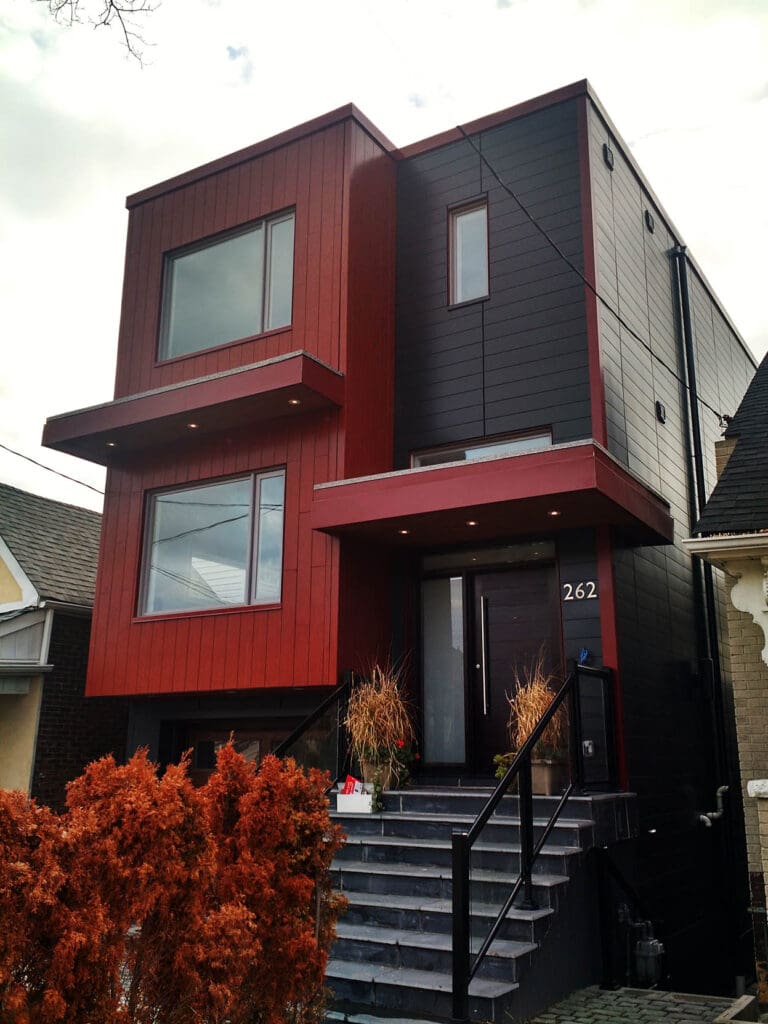
This chapter delves into the heart of the cassette panel installation process:
2.1 Bracket Installation:
Step-by-step instructions on how to securely attach brackets to the substrate, ensuring they are level and properly spaced.
2.2 Panel Attachment:
How to attach cassette panels to the installed brackets, covering methods like clip-on systems, concealed fasteners, and more.
2.3 Panel Alignment:
Techniques for ensuring the alignment, spacing, and symmetry of the cassette panels to achieve a seamless appearance.
2.4 Fastening:
Best practices for fastening panels, including recommendations for screws, rivets, or other appropriate fasteners.
Chapter 3: Finishing Touches
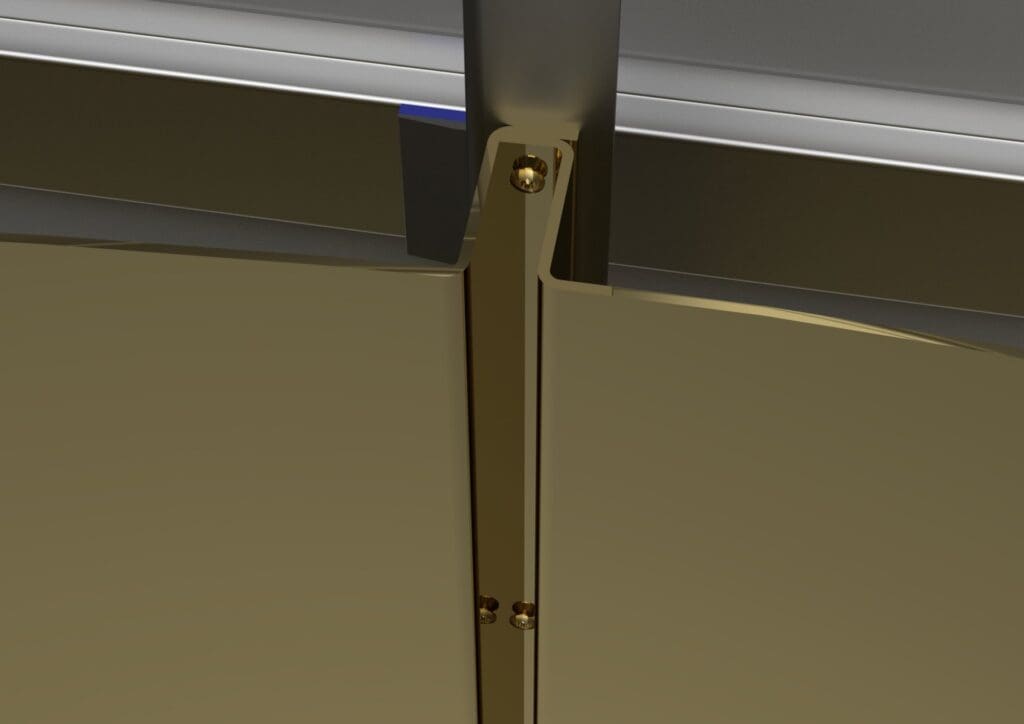
The final touches can make all the difference. This chapter discusses:
3.1 Sealing Joints:
The importance of sealing joints and panel edges to prevent water infiltration and enhance the cladding’s durability.
3.2 Flashing and Trim Installation:
How to install flashing and trim pieces to provide additional weather protection and a polished look to the installation.
3.3 Cleaning and Maintenance:
Tips for cleaning and maintaining cassette panels to ensure their longevity and visual appeal.
Chapter 4: Troubleshooting and Common Challenges
Even with careful planning, challenges may arise during installation. This chapter offers solutions for common issues:
4.1 Alignment Problems:
How to address alignment issues and ensure panels are correctly positioned.
4.2 Water Leakage:
Strategies for dealing with water infiltration and ensuring the cladding remains watertight.
4.3 Panel Damage:
How to repair or replace damaged cassette panels without compromising the entire installation.
Chapter 5: Safety Considerations
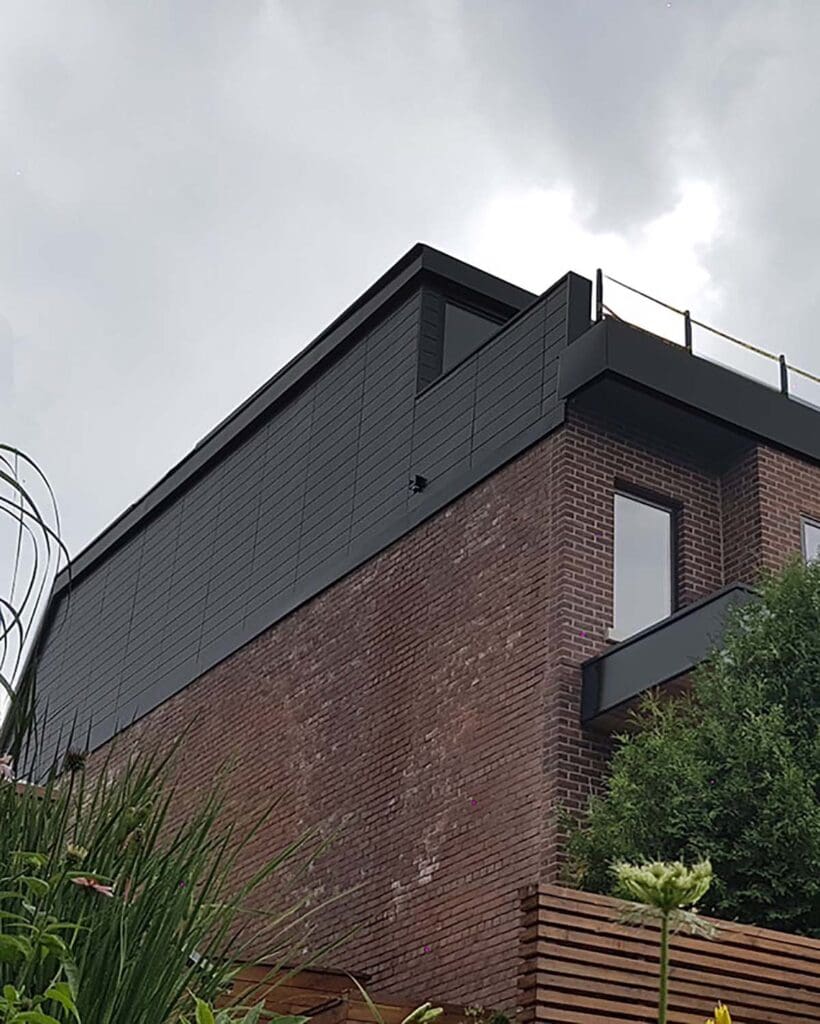
Safety is paramount when working on any construction project, and cassette panel installation is no exception. By following appropriate safety measures, you can protect yourself, your team, and ensure a successful installation. In this chapter, we will outline crucial safety considerations throughout the cassette panel setup process.
5.1 Personal Protective Equipment (PPE):
Before starting any work, ensure that you and your team are equipped with the necessary personal protective equipment. This typically includes hard hats, safety glasses, gloves, and steel-toed boots. PPE helps safeguard against potential hazards on the construction site.
5.2 Fall Protection:
Cassette panel installation often involves working at heights. To prevent falls, use appropriate fall protection measures such as guardrails, safety nets, or personal fall arrest systems (PFAS). Ensure that all team members are trained in their use.
5.3 Ladder Safety:
When using ladders for access or work, make sure they are in good condition and placed on stable ground. Always maintain three points of contact when climbing or descending, and avoid overreaching.
5.4 Tool Safety:
Handle tools and equipment with care and follow manufacturer guidelines. Keep tools in good working condition, and use the right tool for the job. Be cautious of power tool cords to prevent tripping hazards.
5.5 Electrical Safety:
When working with power tools, extension cords, or near electrical installations, be aware of electrical hazards. Ensure that all electrical connections are properly grounded, and use ground fault circuit interrupters (GFCIs) when required.
5.6 Weather Awareness:
Cassette panel installation can be weather-dependent. Monitor weather forecasts to avoid working during adverse conditions, such as heavy rain, strong winds, or lightning storms. Slippery surfaces due to rain can pose significant risks at elevated heights.
5.7 Communication and Coordination:
Effective communication is key to preventing accidents. Establish clear communication channels among team members and designate a safety coordinator if needed. Ensure that everyone is aware of their roles and responsibilities regarding safety.
5.8 Emergency Response Plan:
Develop and communicate an emergency response plan that includes procedures for injuries, falls, and other potential emergencies. Make sure all team members know the location of first aid kits and emergency exits.
5.9 Training and Certification:
Ensure that all individuals involved in cassette panel installation are adequately trained and certified in safety protocols and equipment usage. Regular training updates and refresher courses can help maintain a culture of safety.
5.10 Site-specific Hazards:
Be aware of site-specific hazards, such as nearby traffic, overhead loads, or adjacent construction activities. Implement measures to mitigate these risks, such as signage or barricades.
1. What are cassette panels, and where are they commonly used?
Cassette panels are cladding systems composed of prefabricated panels with a protective outer layer. They are commonly used in building facades, architectural accents, and exterior wall coverings.
2. What makes cassette panels a popular choice for building exteriors?
Cassette panels are preferred for their versatility, durability, and aesthetic appeal. They provide weather protection, insulation, and design flexibility.
3. Do I need professional help to install cassette panels, or can it be a DIY project?
The complexity of cassette panel installation varies based on the project’s scale and design. Small-scale installations may be suitable for DIY enthusiasts with construction experience, but larger projects often require professional expertise.
4. What are the key steps involved in cassette panel setup?
The key steps include preparation (design, layout, and substrate inspection), bracket installation, panel attachment, panel alignment, fastening, finishing touches (sealing joints, flashing installation), and ongoing maintenance.
5. What materials and tools are essential for cassette panel installation?
Necessary materials and tools include cassette panels, brackets, fasteners, sealants, safety gear (PPE), measuring and leveling tools, cutting tools, and power tools.
Cassette panel setup is a skill that combines design finesse with technical know-how. By following this comprehensive tutorial, you’ll be well-equipped to undertake your own cassette panel projects or collaborate effectively with professionals. Cassette panels offer not only aesthetic appeal but also functional benefits, making them an excellent choice for a wide range of architectural and construction applications.

