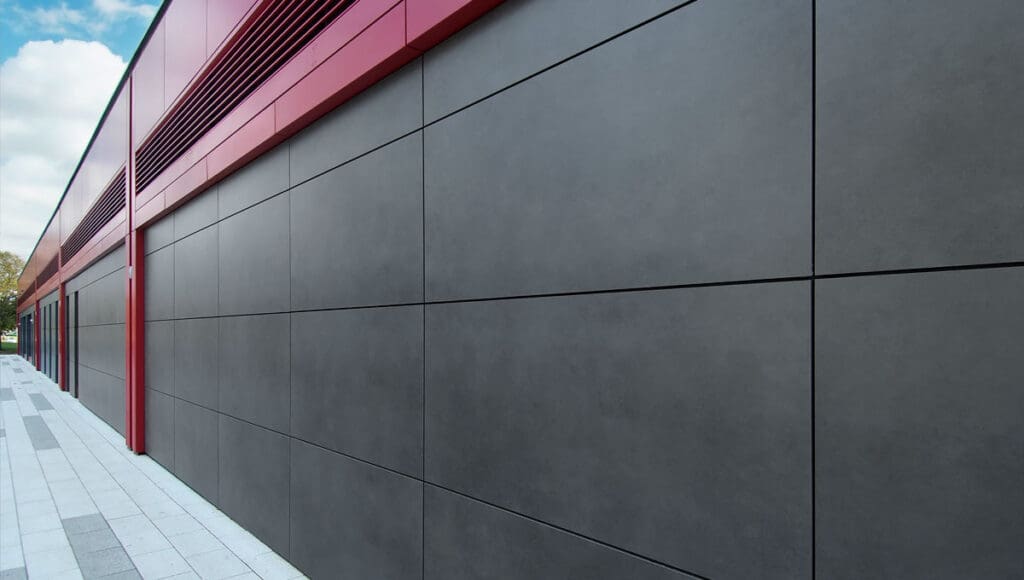
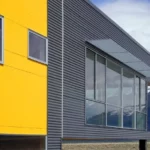
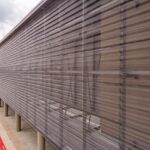
The art of panel installation goes beyond aesthetics – it’s a harmonious blend of precision, technique, and attention to detail. Whether you’re working with cladding panels, decorative panels, or functional panels, proper installation ensures a polished finish and long-lasting performance. This blog serves as your comprehensive guide to understanding essential panel installation techniques that can elevate your projects to a new level of excellence.
1. Preliminary Preparation: Setting the Stage for Success: Panel Installation
Before embarking on any panel installation, thorough preparation is paramount. Ensure that the surface is clean, level, and free of debris. Address any structural issues before proceeding to ensure a solid foundation for your installation.
2. Material Considerations: Understanding Your Panels:
Different panels have varying installation requirements. Understand the specific characteristics of the panel material you’re working with. Consider factors such as weight, flexibility, and any special installation considerations.
3. Tools of the Trade: Equipping Yourself for Success:
Having the right tools on hand is crucial for a smooth installation. Common tools include measuring tapes, levels, saws, fasteners, adhesives, and safety equipment. Invest in quality tools to ensure precision and efficiency.
4. Alignment and Reference Lines: The Blueprint for Perfection:
Establishing accurate reference lines is fundamental to achieving a polished panel installation. Use levels and straight edges to ensure panels are installed straight and aligned. This attention to detail creates a visually appealing outcome.
5. Fastener Placement and Techniques: Ensuring Stability:
Depending on the panel material, you’ll need to choose the appropriate fasteners. Follow manufacturer guidelines for spacing and placement. Whether you’re using screws, nails, or clips, proper fastener and panel installation is crucial for stability.
6. Adhesive Applications: Bonding for Longevity:
For certain panels and materials, adhesive applications are essential. Use the appropriate adhesive recommended by the manufacturer. Proper adhesive bonding ensures a secure and lasting attachment to the substrate.
7. Overlapping and Seaming: Creating a Cohesive Look:
When working with larger panels, overlapping and seaming may be necessary. Follow manufacturer instructions for proper overlapping techniques and use seam sealers to create a seamless appearance.
8. Joints and Corners: Seamless Transitions:
Special attention should be given to joints and corners. Create clean and precise joints by mitering or using corner trim pieces. Properly sealed joints prevent water infiltration and enhance the overall appearance.
9. Handling and Cutting: Precision and Care:
When handling and cutting panels, prioritize safety and accuracy. Use appropriate safety gear, and ensure clean and precise cuts. Incorrectly cut panels can compromise the installation and aesthetics.
10. Regular Maintenance and Inspection: Ensuring Longevity:
Even after successful installation, regular maintenance and inspection are essential. Check for any signs of damage, loose panels, or water infiltration. Address issues promptly to prevent further damage.
11. Customization and Design: Creative Expressions:
Panel installation is an opportunity to showcase creativity. Explore different installation patterns, layouts, and designs that align with your project’s aesthetics and vision.
12. Expertise and Professional Help: When in Doubt, Consult:
While DIY installations are possible, complex projects or unique panel materials may require professional assistance. If you encounter challenges beyond your expertise, seek help from experienced contractors.
Do you glue or nail paneling?
It depends on your goals. If you want to save time and want a quick, temporary solution, it’s best to go with glue paneling, but if you want the wall panels to stay in their place for as long as you want, nail them!
How thick should MDF be for Panelling?
The thickness of MDF really depends on your personal preference. However, using anything less them 6mm thick may not create the texture you require and anything above 18mm might be too thick. At Cut Plastic Sheeting, we offer MDF sheets in a range of thickness between 3mm to 30mm all cut to your size.
What are applied panels?
An Applied Panel is a decorative cover panel that is applied (added) to the seen side of the cabinet. It is used to hide any screw holes, and adds colour and a finishing touch to your cabinet.
How does paneling work?
Paneling, also spelled panelling, in architecture and design, decorative treatment of walls, ceilings, doors, and furniture consisting of a series of wide, thin sheets of wood, called panels, framed together by narrower, thicker strips of wood.
Mastering panel installation techniques is an investment in the quality and longevity of your projects. Whether you’re working on exterior cladding, interior décor, or functional panels, attention to detail and precision are paramount. By following these essential techniques and guidelines, you can navigate the installation process confidently and achieve results that stand as a testament to your commitment to craftsmanship and excellence.

