Embarking on a DIY cladding installation journey can be an exciting endeavor that brings your architectural vision to life. With the right guidance, preparation, and attention to detail, you can achieve a professional-looking cladding installation that enhances your building’s aesthetics and value. This blog is your comprehensive guide to DIY cladding installation, providing valuable advice and insights for a successful and rewarding project.
DIY Cladding Installation
1. Choose the Right Cladding Material:
The first step in DIY cladding installation is selecting the appropriate material. Consider factors such as the climate, architectural style, and maintenance requirements. Each material has unique installation considerations, so choose one that aligns with your skills and preferences.
2. Plan and Measure Thoroughly:
A well-thought-out plan is the foundation of a successful installation. Measure your building’s dimensions accurately and calculate the amount of cladding material needed. This prevents unnecessary waste and ensures a seamless installation process.
3. Gather the Necessary Tools and Supplies:
Having the right tools and supplies on hand is essential for a smooth installation. Common tools include a tape measure, level, saw, fasteners, adhesive, and safety equipment. Consult the cladding manufacturer’s guidelines for specific requirements.
4. Prepare the Surface:
A clean and properly prepared surface is crucial for a solid cladding installation. Remove old paint, dirt, and debris. Repair any damaged areas and ensure that the substrate is level and structurally sound.
5. Follow Manufacturer Instructions:
Every cladding material comes with specific installation instructions from the manufacturer. These guidelines provide valuable information on fastener placement, spacing, adhesive application, and more. Adhering to these instructions is essential for a successful installation.
6. Start with a Test Section:
Before committing to the full installation, consider starting with a test section. This allows you to familiarize yourself with the installation process and make any necessary adjustments without affecting the entire project.
7. Focus on Alignment and Leveling:
Proper alignment and leveling are key to achieving a polished appearance. Use reference lines to ensure that cladding panels are straight and level. A visually pleasing installation enhances the overall aesthetics of your building.
8. Secure Cladding Panels Correctly:
Whether using mechanical fasteners or adhesive, ensure that cladding panels are securely attached to the substrate. Follow recommended spacing and placement guidelines to maintain the structural integrity of the installation.
9. Address Corners and Joints:
Corners and joints require special attention to achieve a seamless transition between cladding panels. Use corner trim pieces or create mitered joints for a clean and professional finish.
10. Regular Maintenance and Inspection:
After completing the installation, regular maintenance and inspection are essential. Check for any signs of damage, water infiltration, or loose panels. Address issues promptly to prevent further damage.
11. Safety First:
Prioritize safety throughout the installation process. Wear appropriate protective gear, follow safety guidelines, and work with caution, especially when using power tools.
12. Seek Professional Help When Needed:
While DIY cladding installation can be rewarding, some projects may require professional assistance. If you encounter challenges beyond your expertise, it’s wise to seek help from experienced contractors.
Can I install cladding myself?
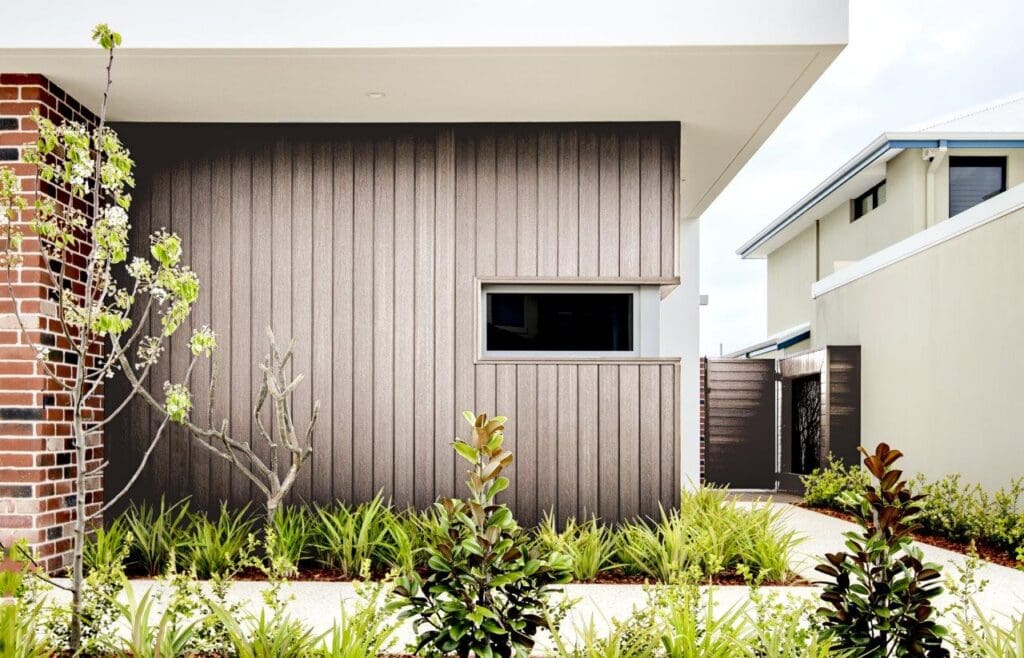
Composite timber panels are usually the easiest D.I.Y. option; they’re lightweight, allowing for single-person installation, and they can be cut and installed using standard carpentry tools. Look for a self-locking system, like Weathertex ‘Primelok’ and ‘Selflok’, and carefully follow the installation manual.
Remember that while DIY cladding installation can be rewarding, it’s essential to prioritize safety, thorough preparation, and attention to detail. If you’re confident in your abilities and have done thorough research, DIY cladding installation can be a great way to save costs and contribute a personal touch to your construction project.
Can you clad your house yourself?
PVCu cladding can be a cost-effective option if you’re on a budget, and it’s easy to fit for DIYers as it’s lightweight and is typically sold as interlocking boards. Timber cladding is usually more expensive, but there are various types of wood to choose from.
How do you prepare a wall for cladding?
Sand down the wall surface to ensure any bumps or uneven patches are eradicated. Ensure all cracks or holes in the walls have been filled to provide better insulation and prevent any weak spots in the wall. Note that the panels depends on the strength of the wall behind it.
Should cladding be nailed or screwed?
Screws are always recommended over nails as they achieve better anchoring and are easier to remove should you need to get access behind without damaging the cladding board.
What is the cheapest way to clad a house?
Sheet steel is considered the cheapest option when weighing up lifetime costs, followed by sheet plywood. PVC, fibre cement and timber weatherboards are the more expensive options.
What are the basics of cladding?
Cladding is when one material is applied to cover the external structure of the building. They come in a variety of colours and can be used in different ways. It can wrap around a whole building or it may only be used on parts of the building.
Conclusion:
DIY cladding installation is an opportunity to infuse your project with personal creativity and pride. By following these essential tips and guidelines, you can navigate the process confidently and achieve a cladding installation that not only enhances your building’s aesthetics but also reflects your dedication to craftsmanship. Remember that patience, attention to detail, and a willingness to learn are the keys to unlocking a successful and gratifying DIY cladding journey.

